*Data based on a comparable arrangement from the Hy-Vee® floral section
So, Valentine’s Day is upon us and that means flowers. Now, you might be giving someone flowers and want to make them look like you didn’t just grab a bouquet from the shelves of the store. Or, perhaps you did receive flowers from the shelf of the grocery store, and you would prefer they appear more like you just burst out of an upscale florist. You’re in luck. With a few tricks and some small flourishes, you can do just that.
For this tutorial, I am using flowers from Menards®, which are $14.99 as of this posting. Menards® does not endorse this blog or content. I just happen to find their flowers are a decent quality for an extremely economical price. I also find it amusing that a hardware store sells flowers.
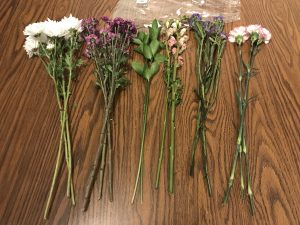
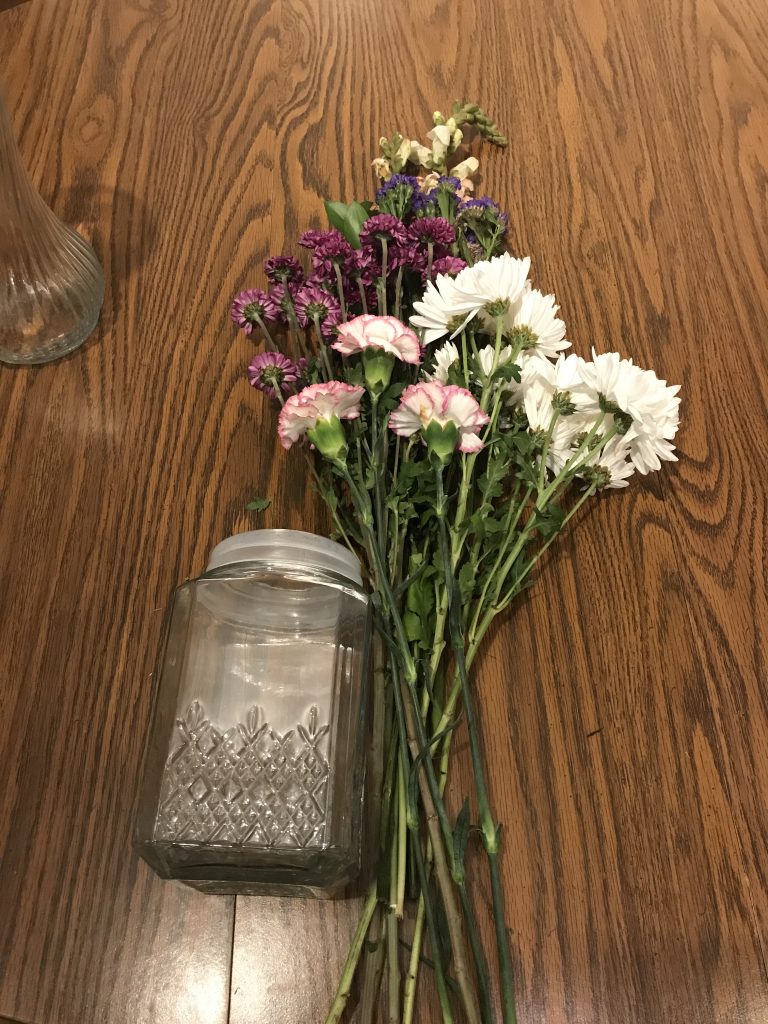
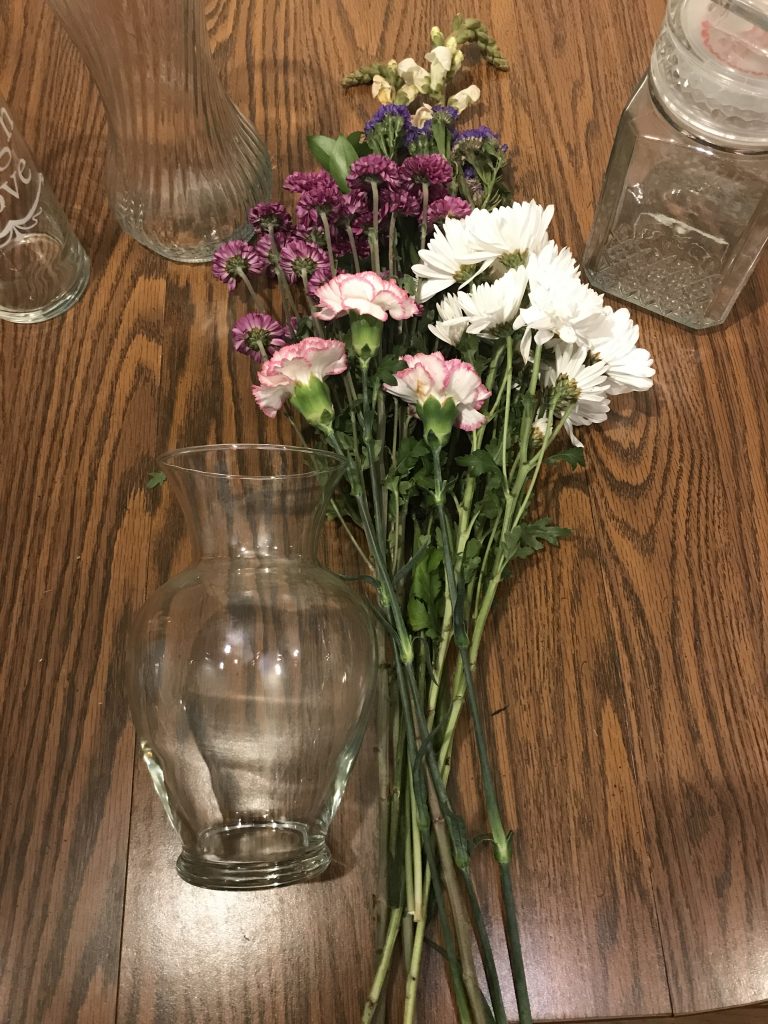
Step 1: Unwrap the flowers and assess them.
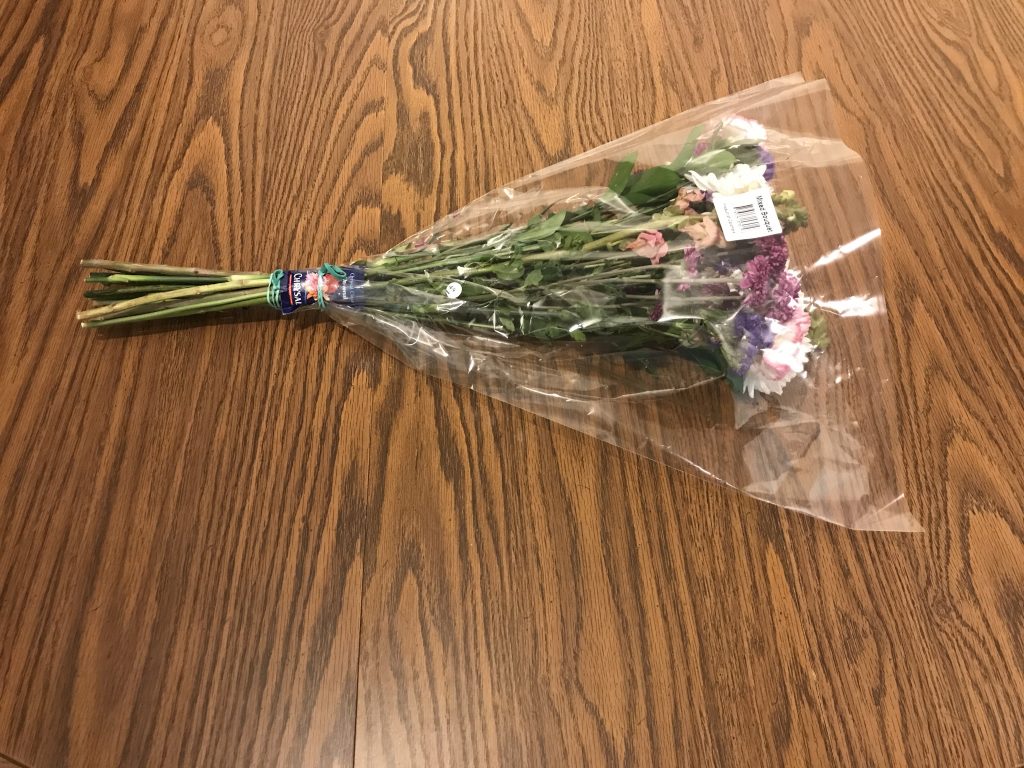

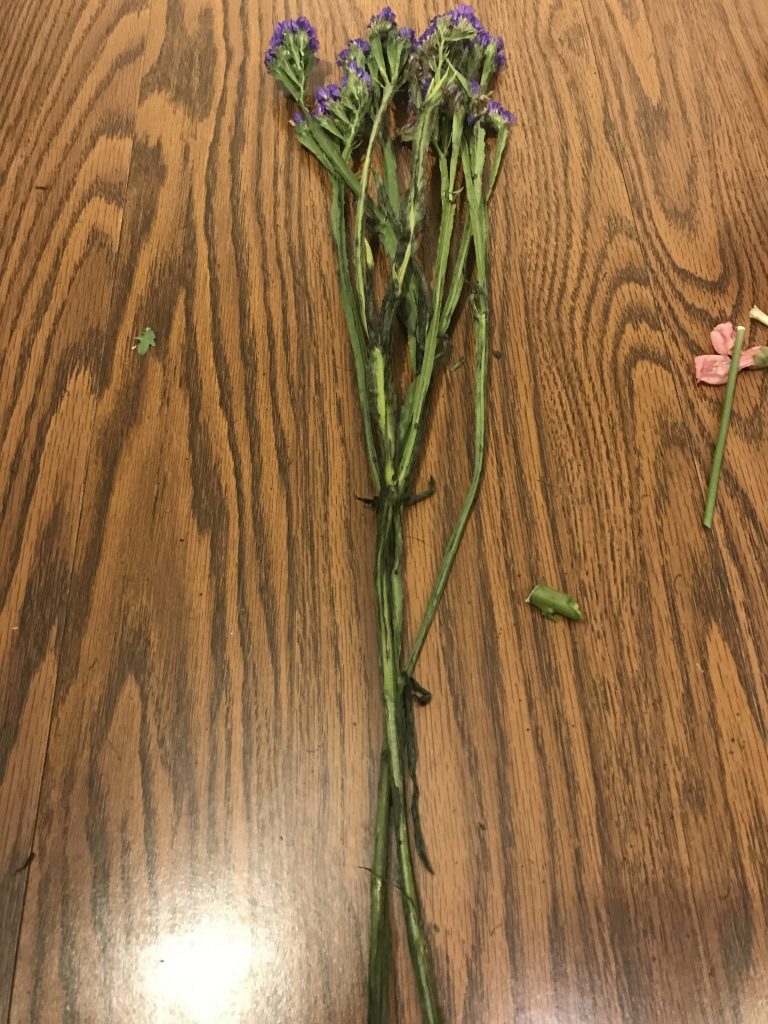
“Assess the flowers? This isn’t a math problem. Why do I have to assess them?” Bear with me here. Before you start sticking flowers in vases, see what you are working with. Are there a lot of tiny flowers? Do all the flowers have long stems or do you have to deal with some stubby flowers? Are some of the flowers squished or a little wilted? My bouquet had some Statice (the very small purple flowers) that were very wilted, so I knew that they was going to require extra cutting/grooming. To keep from damaging the flowers when opening them, I like to open the sleeve with a slit down the side.
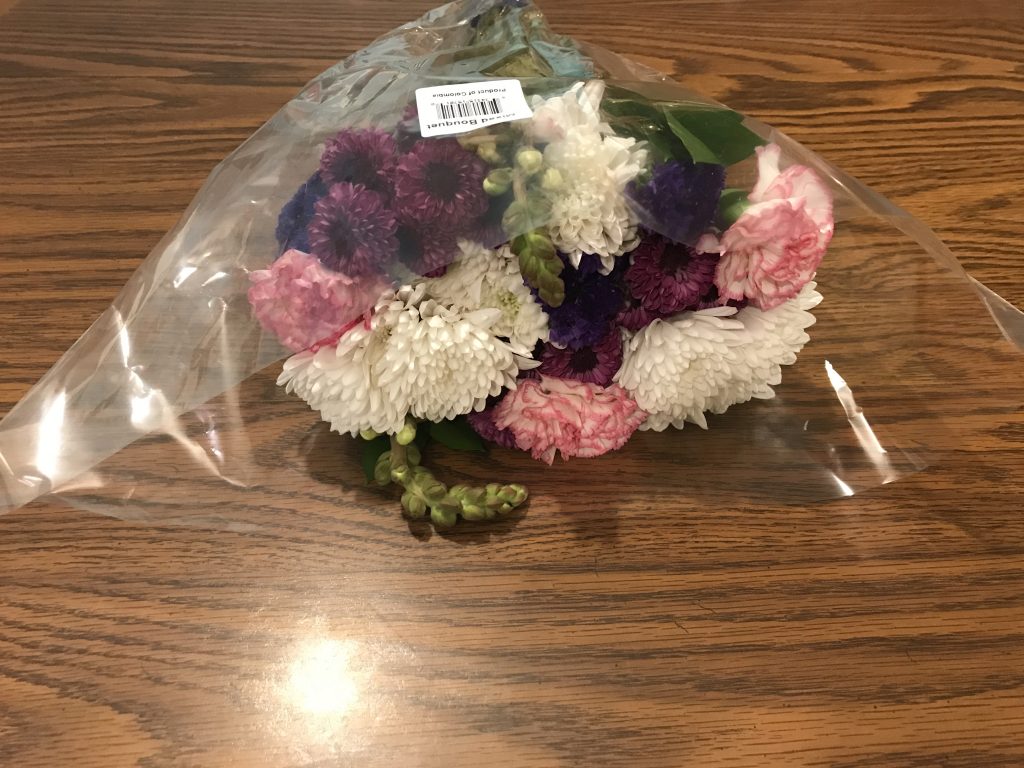
Step 2: Groom your flowers
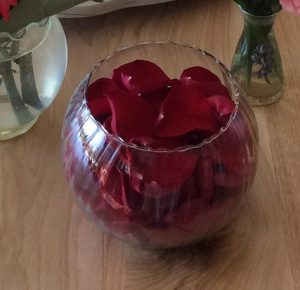
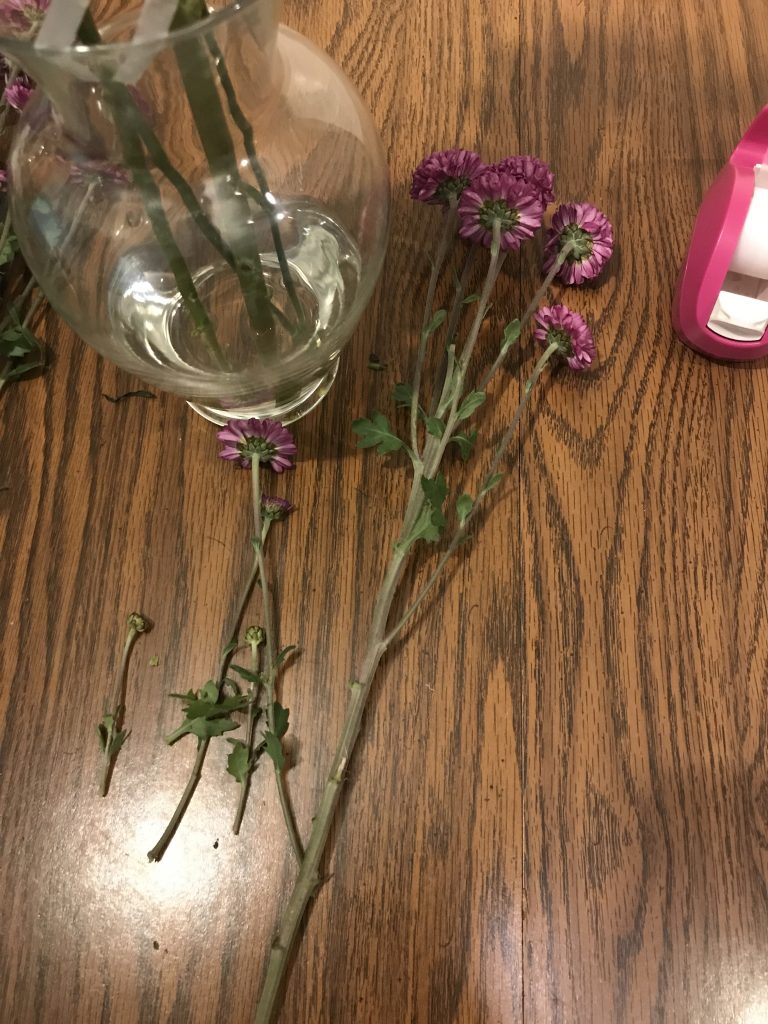
Now, you might have only ever heard the word “groom” in reference to you dog. Here, I mean picking off the wilted and blackened petals and taking off any dead or yellowed leaves. This will save you a lot of hassle later and allows you to really see what you are working with. In my bouquet, I had to pick off one or two dead leaves, a few discolored petals, and some dead flowers or empty stems. I then organized them by type to help with arranging. For roses, I save the petals I pull off due to bad spots and put them all in a clear bowl or scatter them around the vase. They won’t last very long, but they make pretty accents.
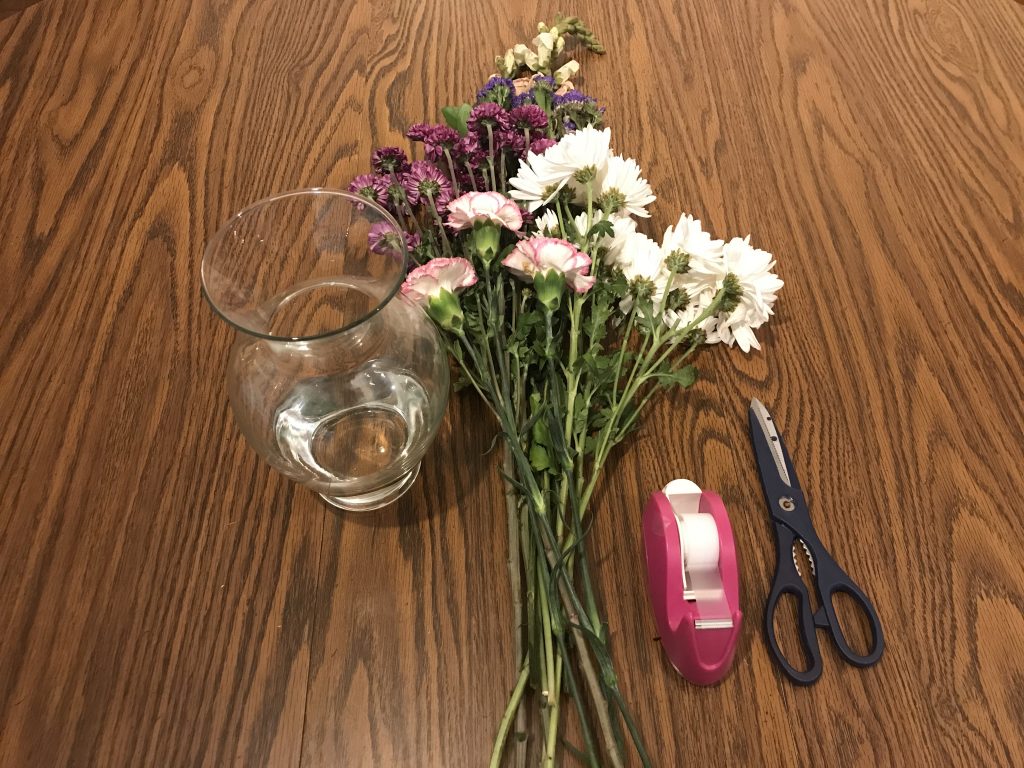
Step 3: Arrange your flowers on the table
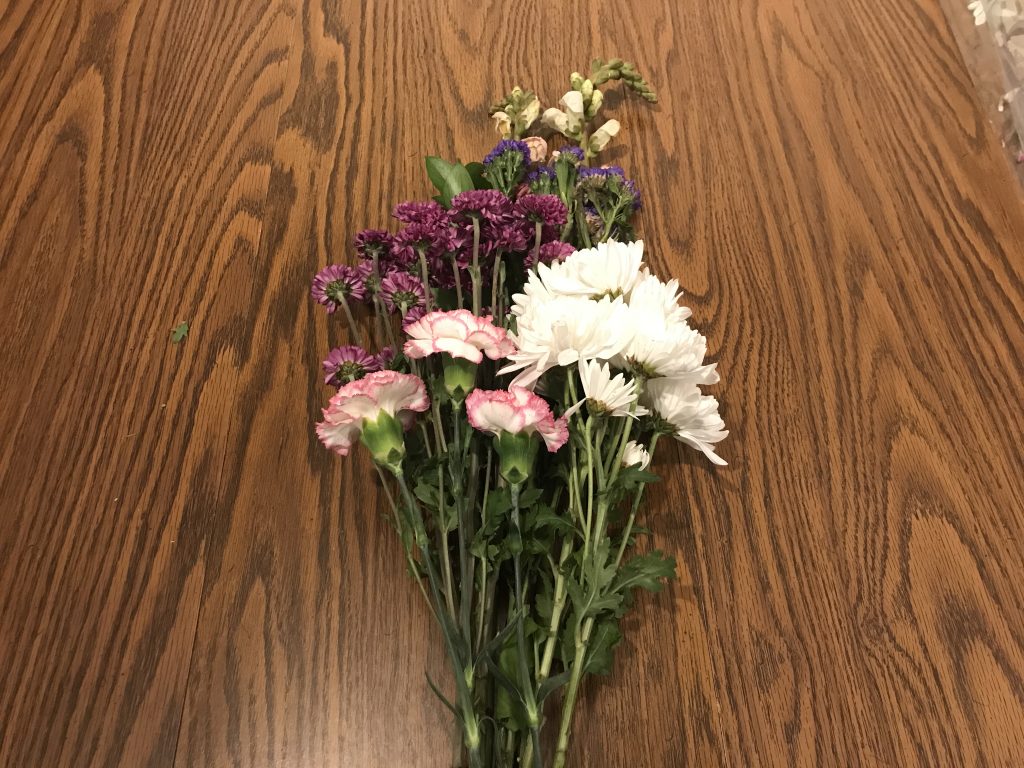
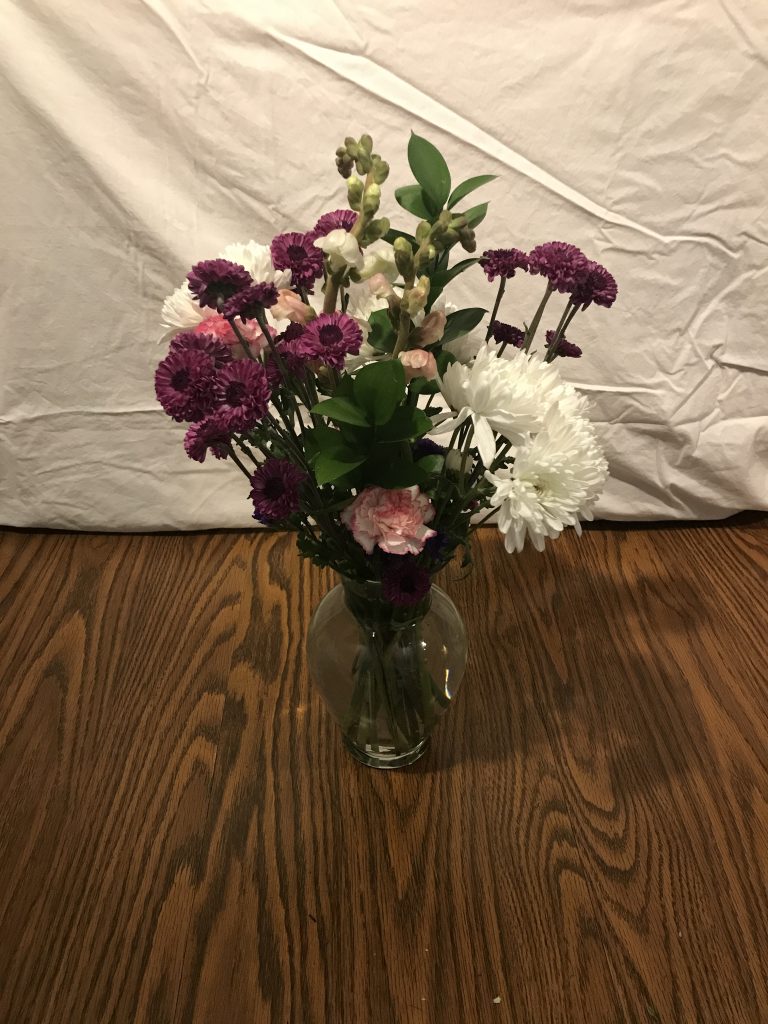
I know you are just itching to start arranging in the vase but hold off for a minute. Once you start cutting the flowers, they need to be in water immediately, so you want to do as much as you possibly can before cutting and arranging in the vase. First, figure out what flowers you want together, the height you want them, and the design. This doesn’t have to be perfect, it’s just a rough estimate. Since I liked the color combination of the flowers in the bouquet, I kept them together and just worked on the arrangement. The key tip here is that smaller flowers go at the top of the arrangement and the larger ones go at the bottom.
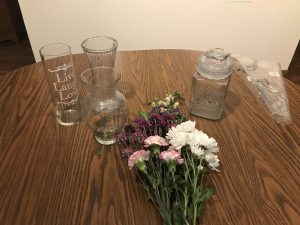
Step 3: Pick an appropriate vase
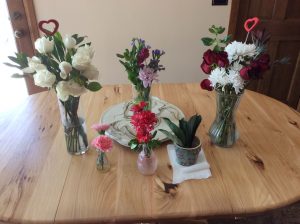
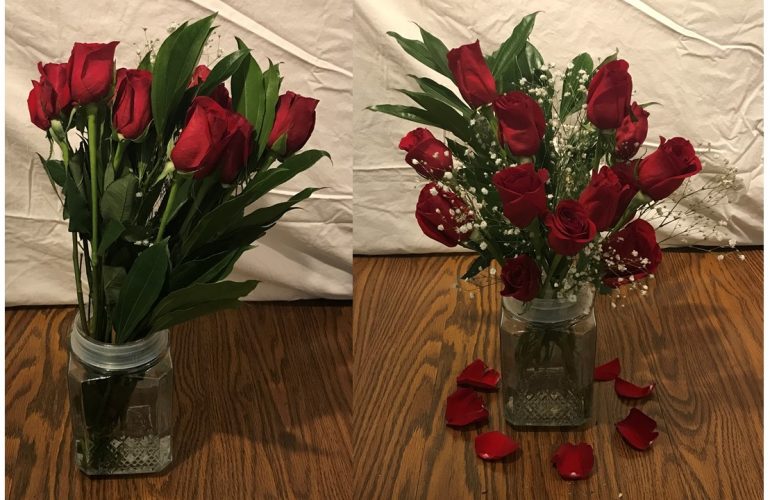
Last year’s bouquets
Do you want all your flowers in the same vase? Do you want several smaller arrangements? This time I decided to keep all the flowers together, but last year I separated them into different arrangements as you can see at the top right. This is the time to decide these things. Or, on the other hand, if you have a particular vase you want to use, work backwards and decide which flowers would work best in that vase. This is the part of the process where you have to use some basic design principles. First, the arrangement is supposed to be two to three times the height of the vase. So, hold your flowers up to the vase. Are they going to look stubby? Too tall? Remember that you will have to cut some off the ends, so go off of the height of the shortest stems and subtract a few inches.
Next, you have to decide on the shape of your design. Do you want a round and short arrangement? A tall and thin one? Once you have decided, you can tailor your vase to that shape. A round arrangement needs a low, wide mouthed vase. A tall, thin arrangement needs a cylinder-shaped vase. The last thing you have to consider is style. Are you looking for a sophisticated look? A casual cottage garden vibe? The vase you choose should match that mood. For my arrangement, I liked how the hourglass shaped vase complemented the shape of the arrangement, so that was the one I chose to start with.
I say start with because as you get into the arrangement, you may find that another vase works better. That is totally normal. It makes for a few more vases to wash, but it is all part of the creative process. As a final note, if you were wanting to use a colored vase, you would need to take that into consideration when designing your color scheme during step 2.
Step 4: Put a small amount of regular water in the bottom of the vase
Why not fill the vase? you ask. The reason is that often when you are arranging flowers, you decide that you want to switch to another vase. This is more difficult when you have to transfer over all that water too. Also, if you squeeze too many flowers into one vase, the water can spurt out of the top and make a mess. However, you also can’t just leave the vase empty because that isn’t good for the flowers. They need to be in water immediately after being cut. So, put just enough water in the vase to keep the flowers happy, but not enough to cause a watery catastrophe or inconvenience.
Step 5: Construct a tape grid
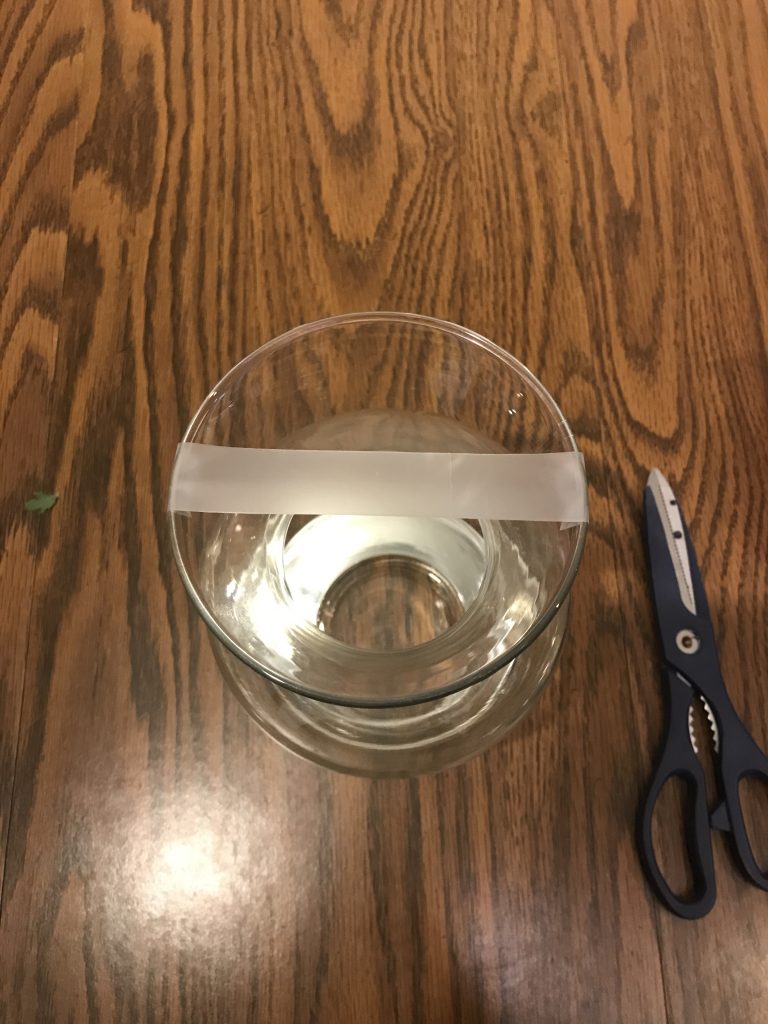
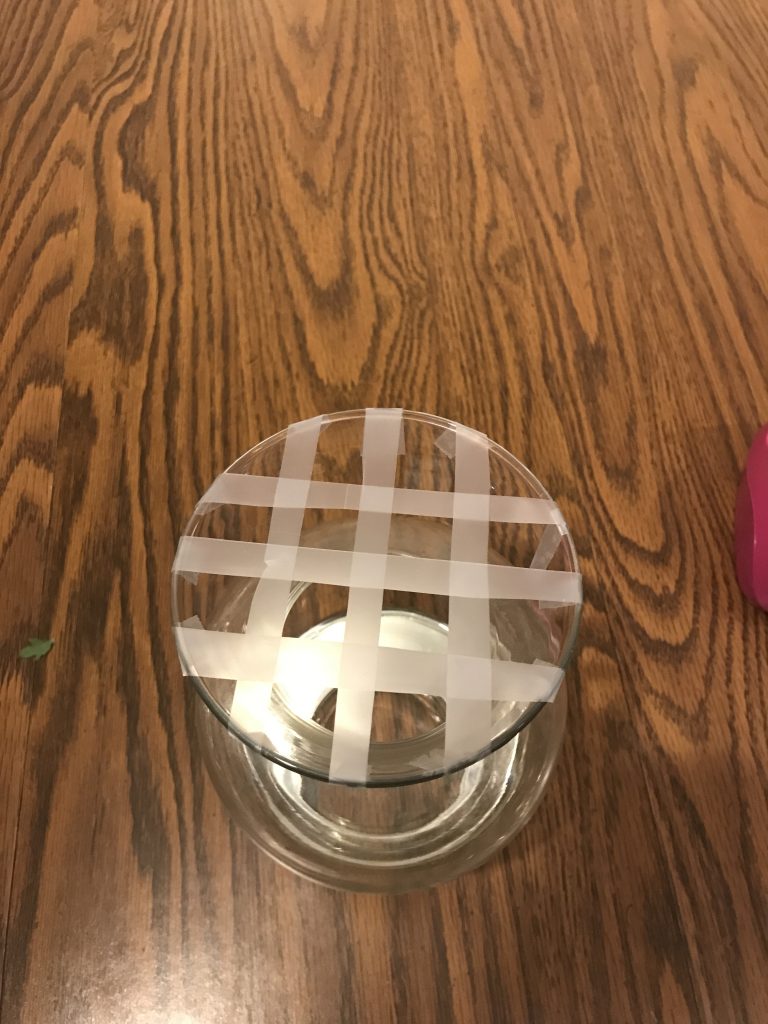
I can feel you raising your eyebrow at me in confusion already. A tape grid is simply a way to stabilize the flowers while you are arranging them. You can use any tape, but clear obviously blends in the best. You can use full size clear tape, but I like to cut it in half so it is thinner. I find it is easiest to do this by attaching one end of the tape to a table edge and holding the other end out while cutting. Keep layering the tape until you have small, but not too tiny, boxes.
Step 6: Start trimming your ends and arranging
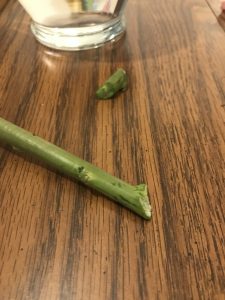
I know you are sitting there telling me it’s about time I got to the arranging part. I know, but preparation makes all the difference. Now you can start trimming the ends of your flowers. Cut the stems at a 45-degree angle instead of straight across. This helps the flowers absorb more water because they are not sitting flat against the bottom of the vase. Arrange the stems in the tape grid holes you just made.
Follow the same principles as when arranging the flowers on the table. Thinnest or smallest flowers should be the tallest and the biggest ones should be the shortest. Although you can make an arrangement that you are only supposed to look at from one side, I try to rotate my vase as I arrange so that you can view it from all sides once it’s finished. Another tip is to make sure no leaves are going to be below the lip of the vase. This can cause mold and mildew issues, severely limiting the life of your arrangement. Remember that no two flowers of the same kind should be at exactly the same level. The key here to creating depth is layering the flowers and placing them at different levels. Of course, there are no hard and fast rules in floral arranging. Experiment and see what you like. If you need to re-trim the ends as you are arranging, that is perfectly fine. For instance, in the very last photo you can see I trimmed the end of the two tallest flowers to fit with the rest of the arrangement.
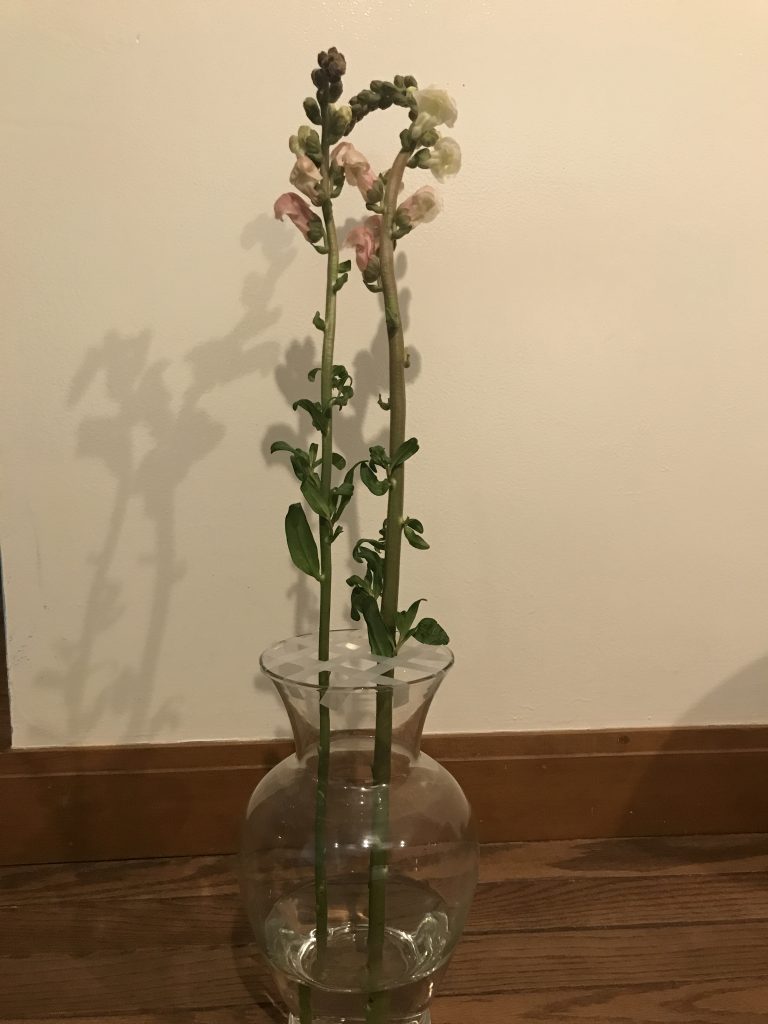
First flowers 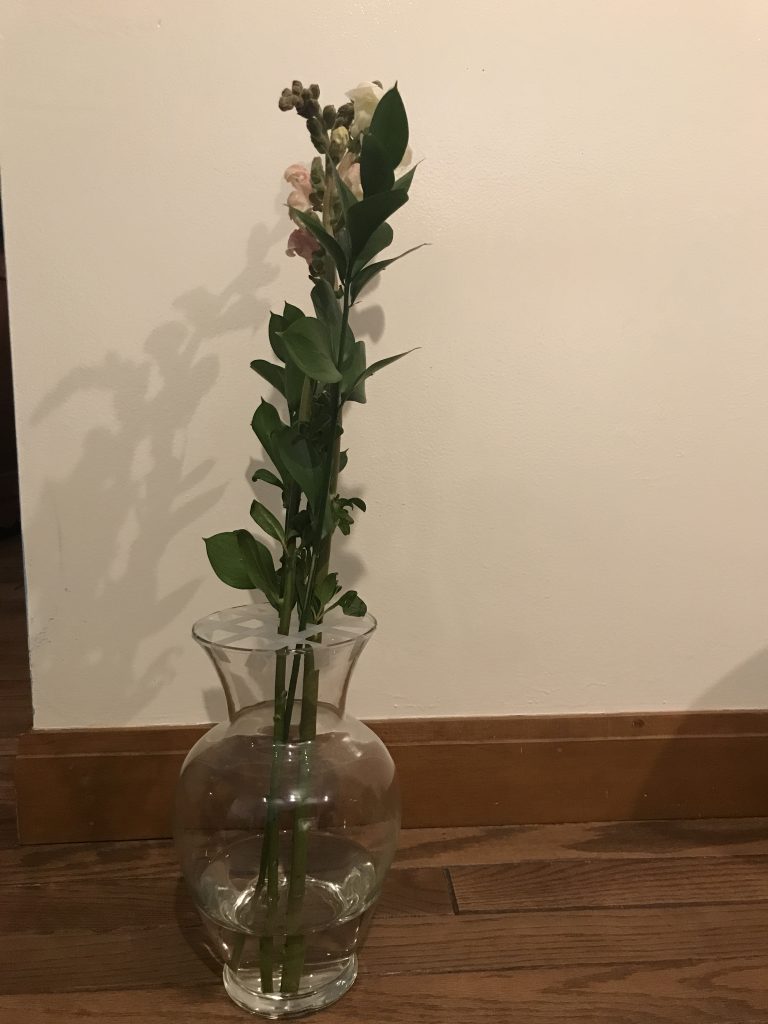
Added greenery 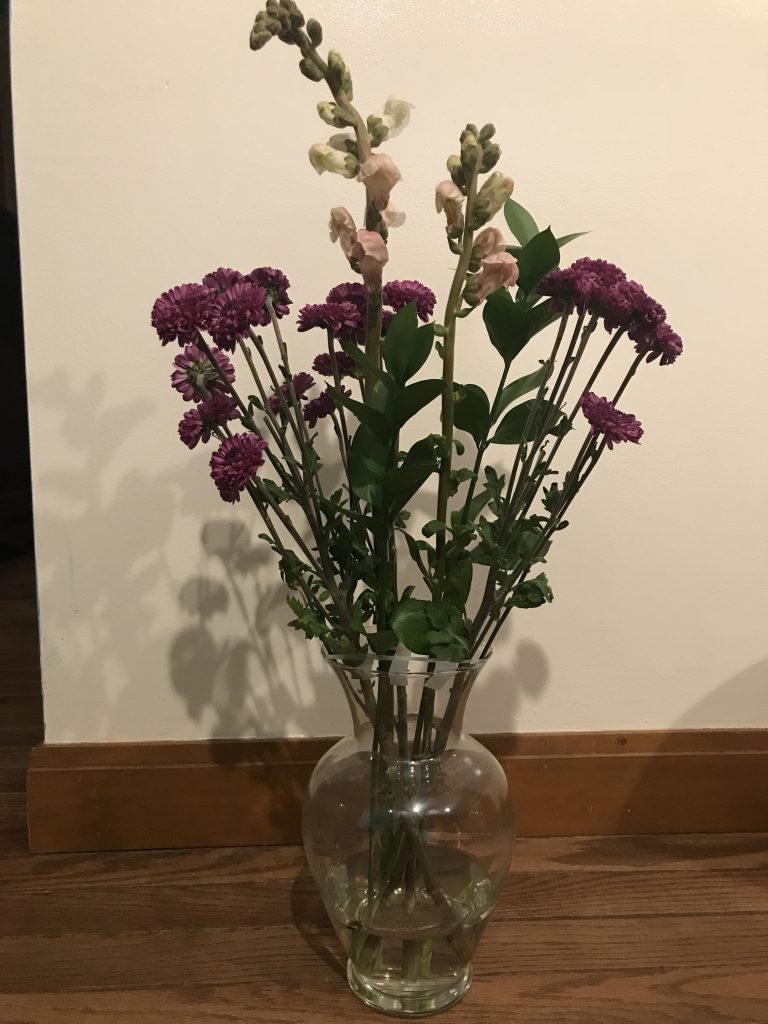
Added purple daisies 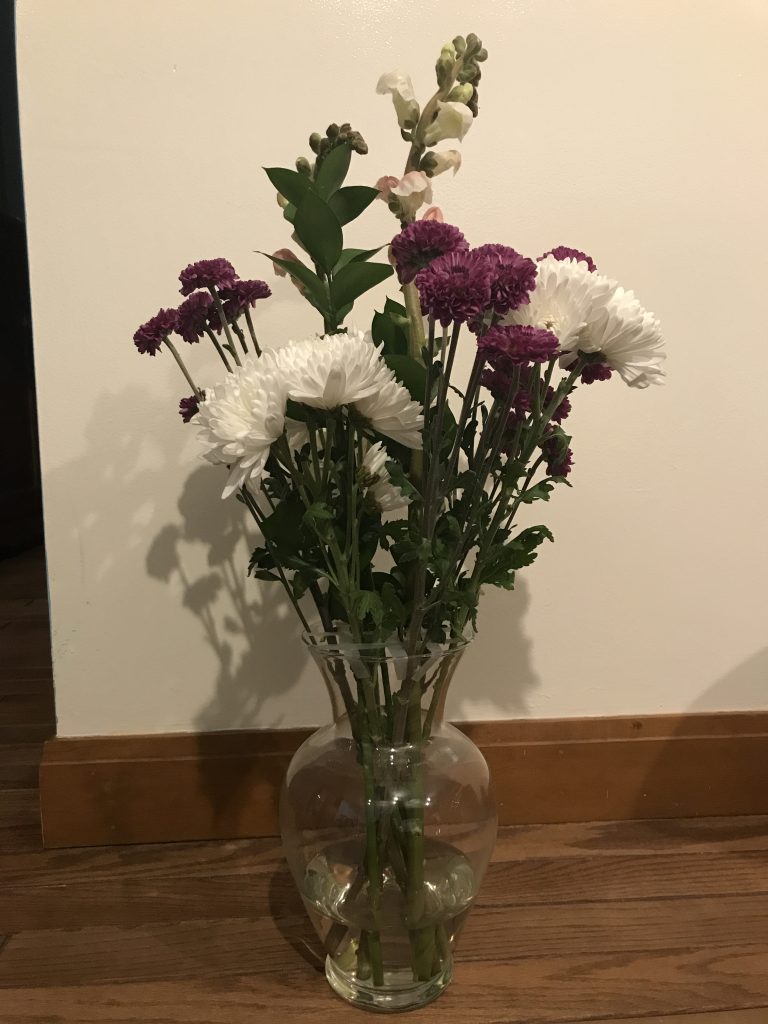
Added white daisies 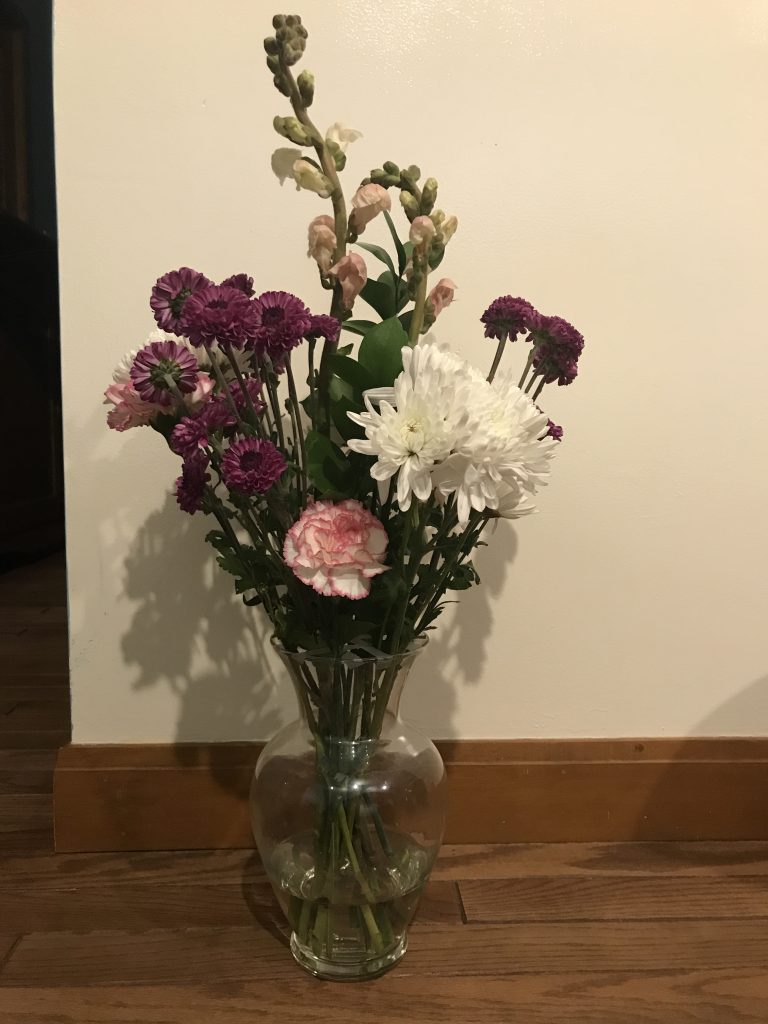
Added Carnations 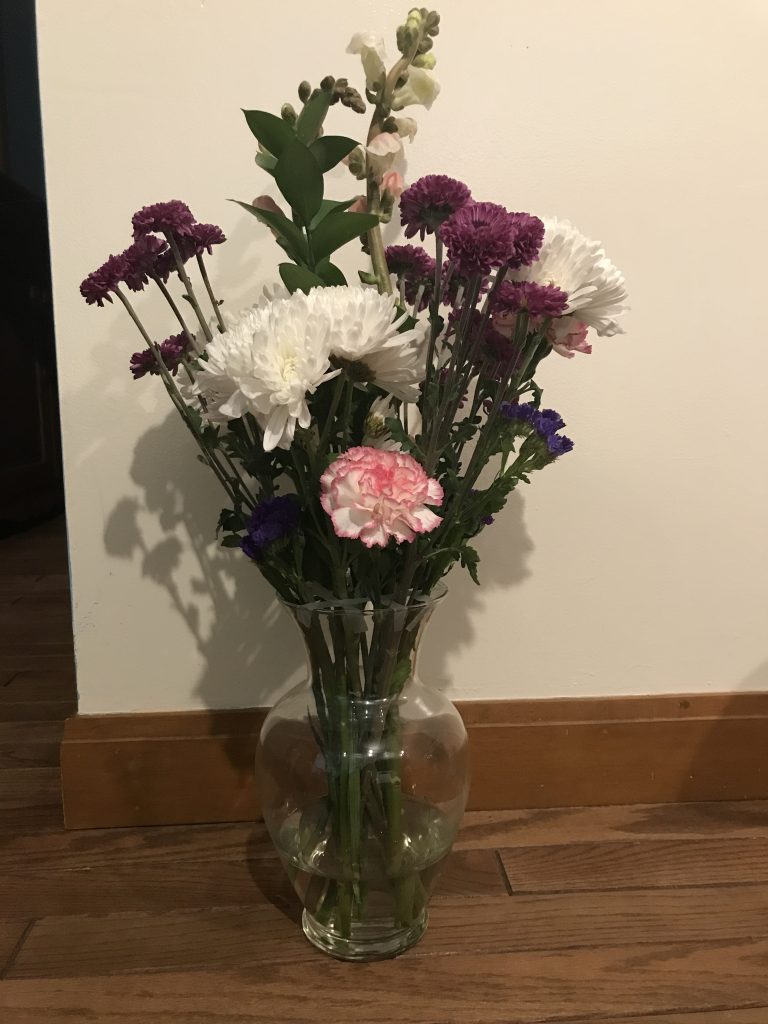
Added the Statice 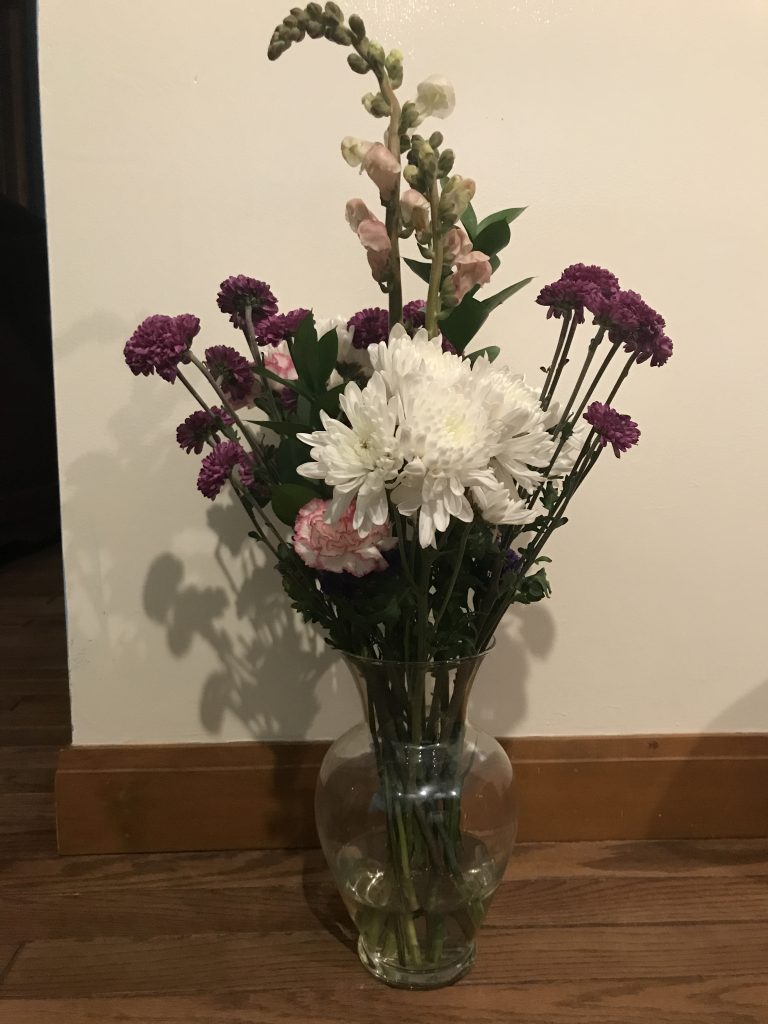
Removed tape grid 
Top angle 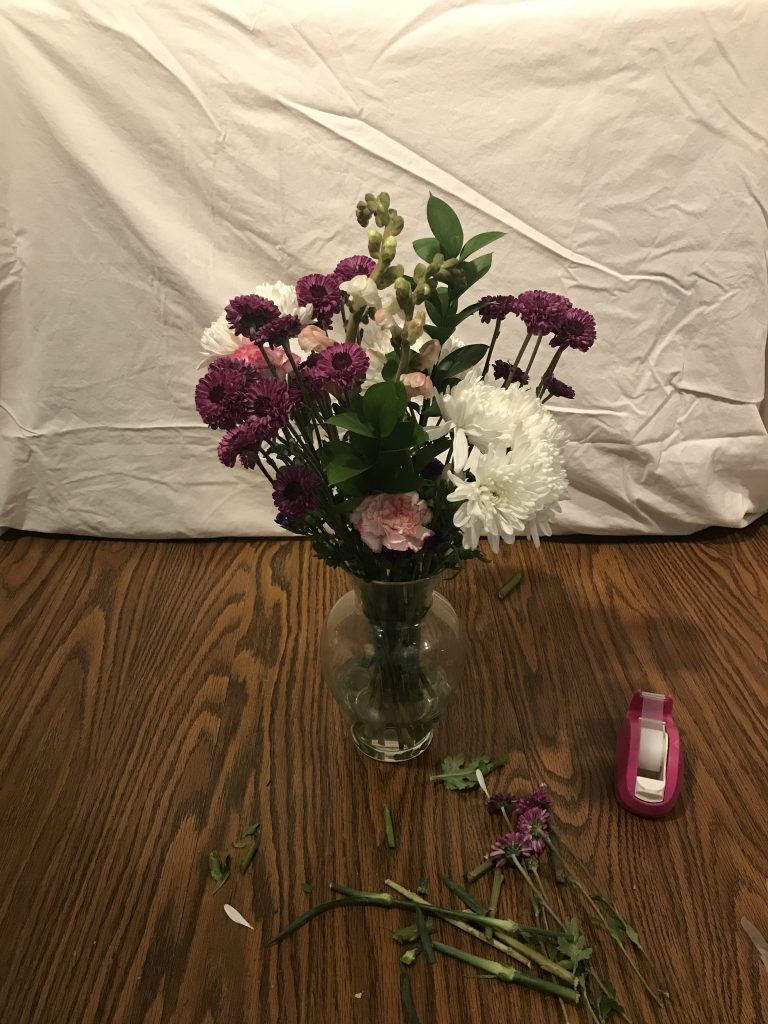
Almost done
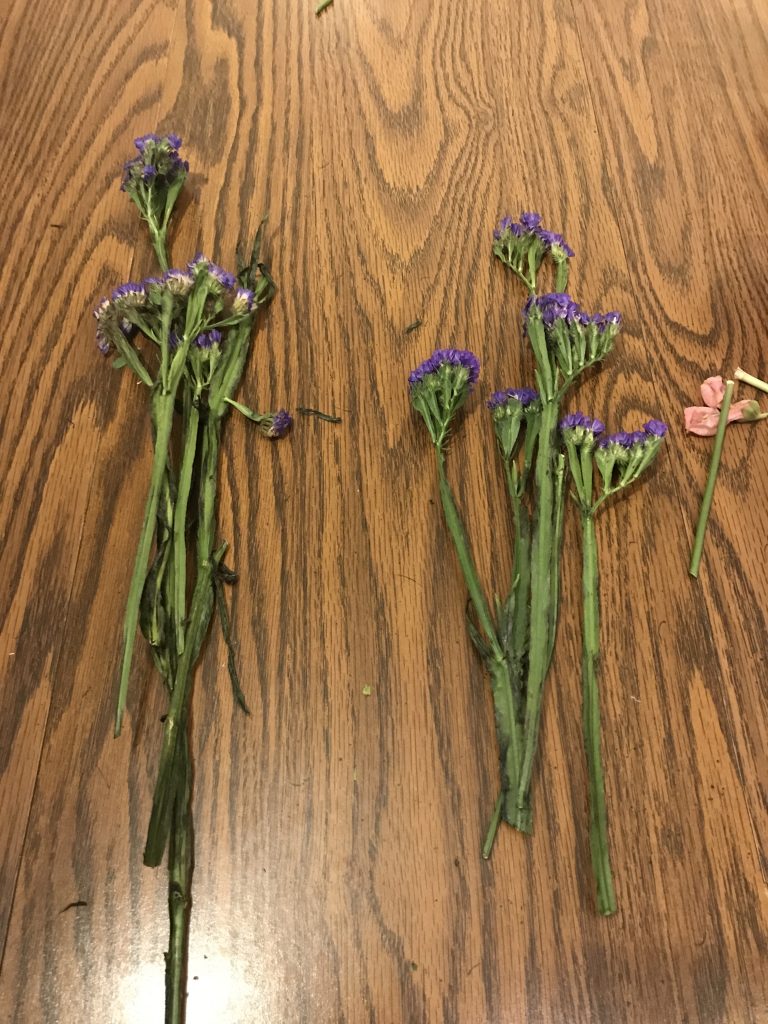
I want to stop for a minute to talk about my treatment of the Statice. In most arrangements, you will come across some flowers that need special attention. Here, most of the stems of the statice were black and moldy. So, I cut off the flowers above the mold and removed the dead or broken flowers. This meant that although the Statice would normally be right under the top flowers because of its size, it had to go at the lip of the vase because of the shortened stems. Another special case here was the daisies. For them, you usually have to strip off the lower flower buds so they will fit into the tape grid and not be below the lip of the vase.
Step 7: Finish off the arrangement
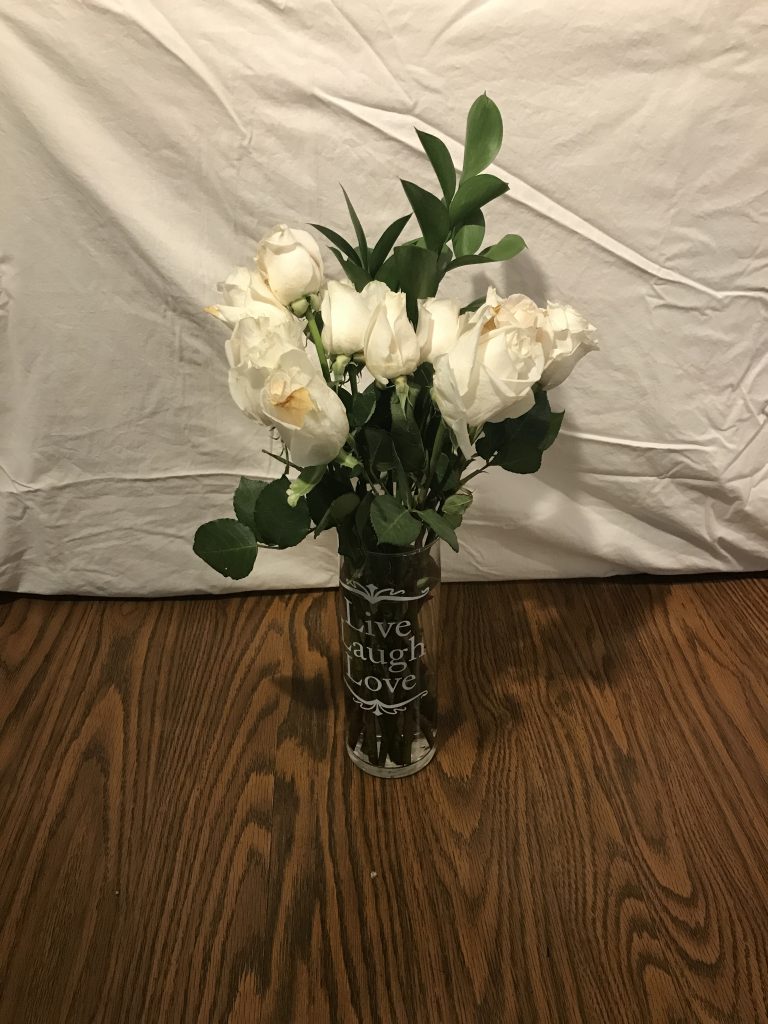
Some of you are probably asking what you do with the tape grid once you are done. There are two options. If you have more greenery or small flowers, you can fill in the bottom of the arrangement with those to hide it. If not, I usually just take off the tape grid. You can see I did that in the first picture of the last row up above. The arrangement looks a little less polished, but it is not a large difference. The one exception to this rule is with roses. They need the tape grid, or they will not stay in place. At this stage you can cut down, rearrange, and fluff the flowers as needed. At the end, you can tuck any small flowers that you had to strip off around the base of the arrangement.
Step 8: Put in the rest of the water
Use the accompanying flower food packet (if provided) and put in the rest of the water into the vase. If possible, use non-chlorinated water.
Step 9: Step back and admire your work
Congratulations! You now have a flower arrangement instead of a sleeve of flowers stuck into a vase. At this point, you may not be completely satisfied with your arrangement. That’s ok. It doesn’t have to look perfect to be lovely. The motto here at Belleflower is “Let your creativity blossom into dazzling imperfection.” Whatever it looks like, you put in the effort to make it and that gives it its own worth.
Special Notes for Roses:
Before 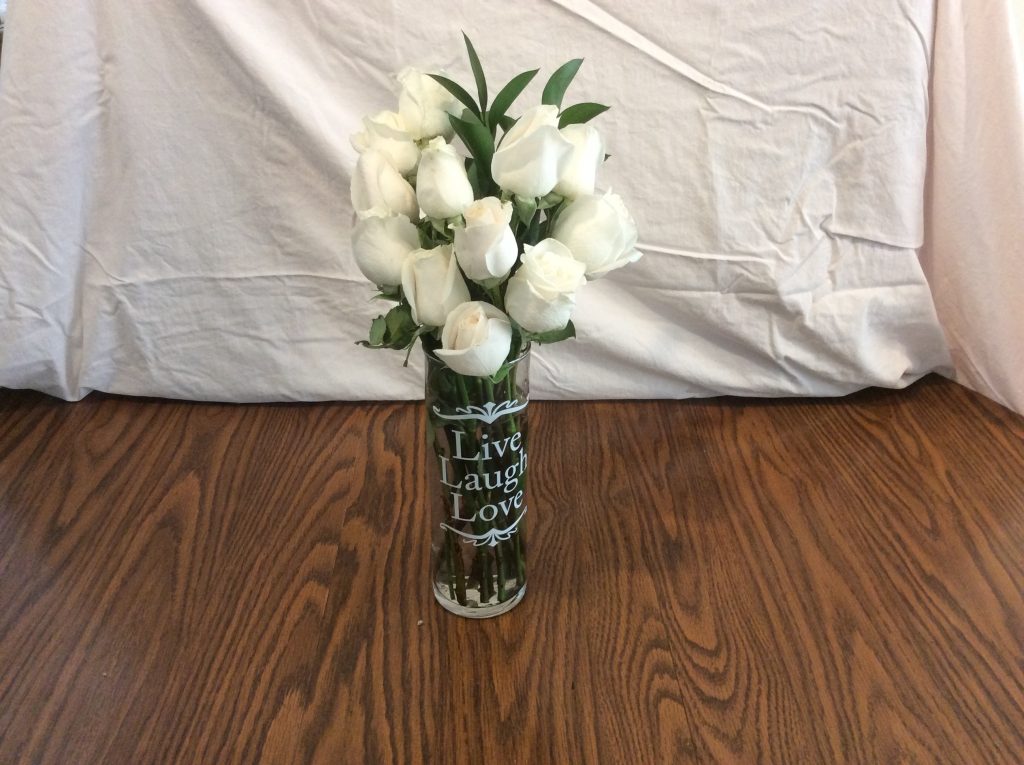
After
Now that we are at the end, there are a few special notes for roses. First, roses are, in my opinion, some of the very hardest flowers to arrange. So, if you are having difficulties with them, don’t despair. Since all the flowers will be roughly the same size, you will need to focus on which flower head is the smallest to decide which flower should be tallest. In addition, it is especially important to vary the heights of the flowers. Finally, I usually strip off most or all of the leaves because they are so prone to damage.
There you have it! From a sleeve of cheap flowers to a nice arrangement all with just some clear tape, scissors, and a vase of some sort. I hope this tutorial has helped you figure out what to do with that bunch of flowers sitting on the kitchen counter, and that you had some fun along the way.
Happy Valentine’s Day!